Projector Modifications

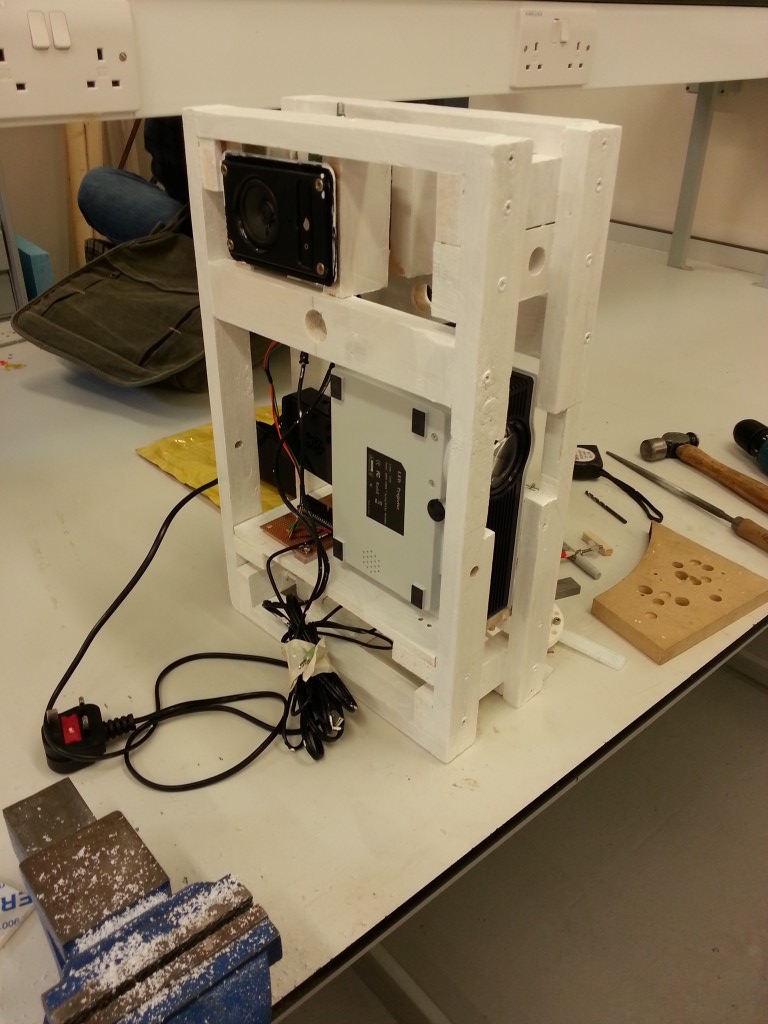
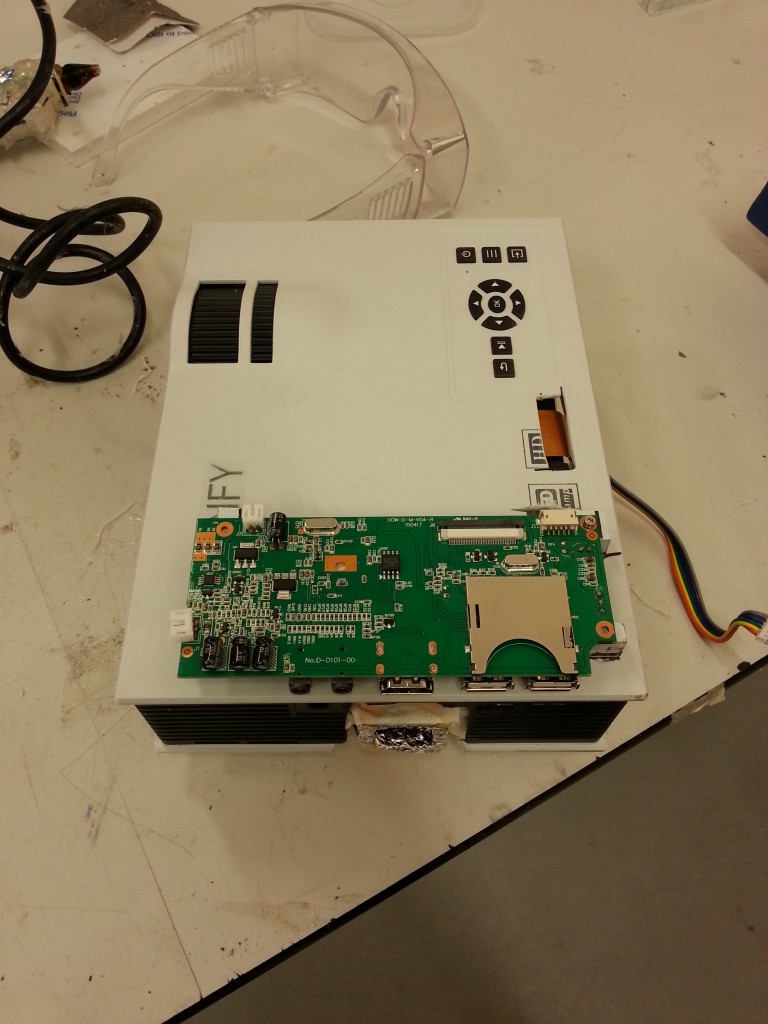
With the new reflector fitted everything was looking great however I soon discovered that all the ports such as HDMI, Audio Out and USB were blocked by the large heatsink keeping the new LED array cool.

I had 3 options :

Unsolder the HDMI connector and extend it.
Move the PCB to outside of the projector housing.Find a smaller heatsink.

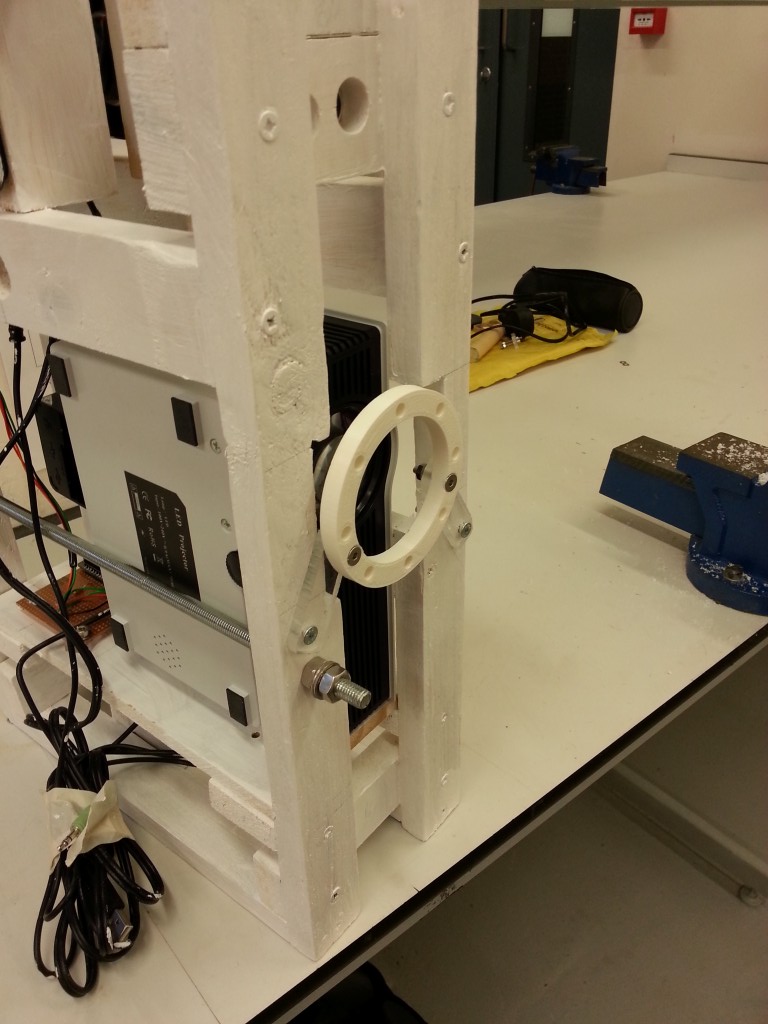
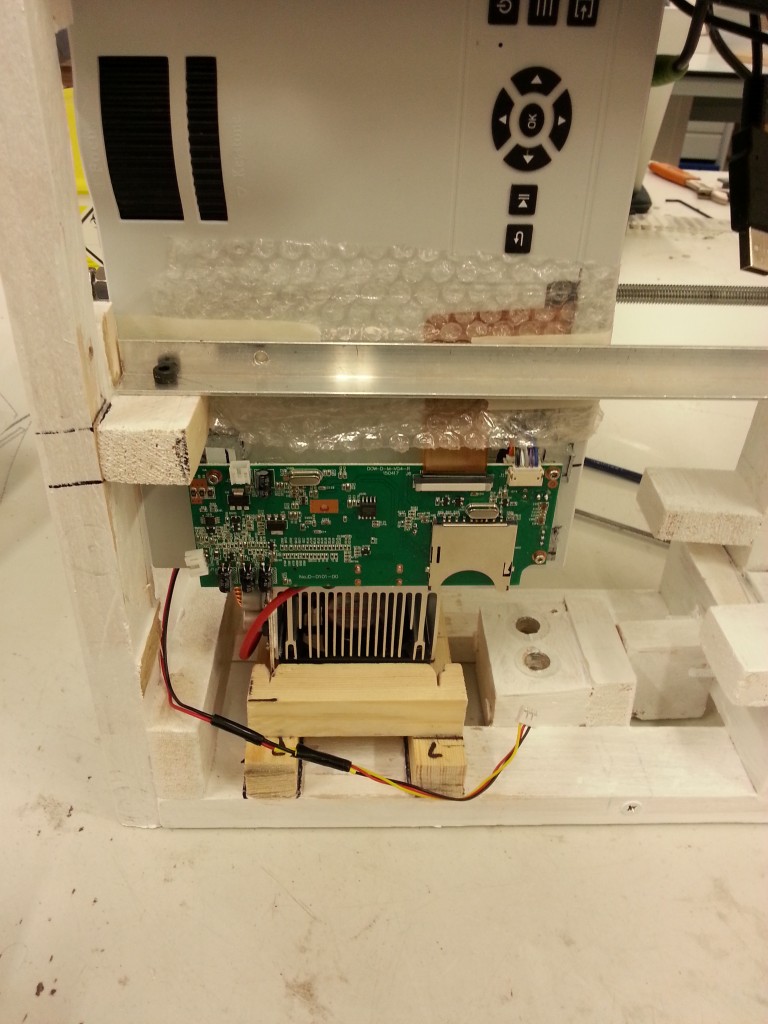
I choose to simply move the PCB and so 2 slots were cut into the top housing to allow the flat flex LCD cable and control panel cable through. Along with this I also added perspex standoffs to mount the PCB and give clearance to the components on the bottom.

IMG_20160331_120513 (Medium)

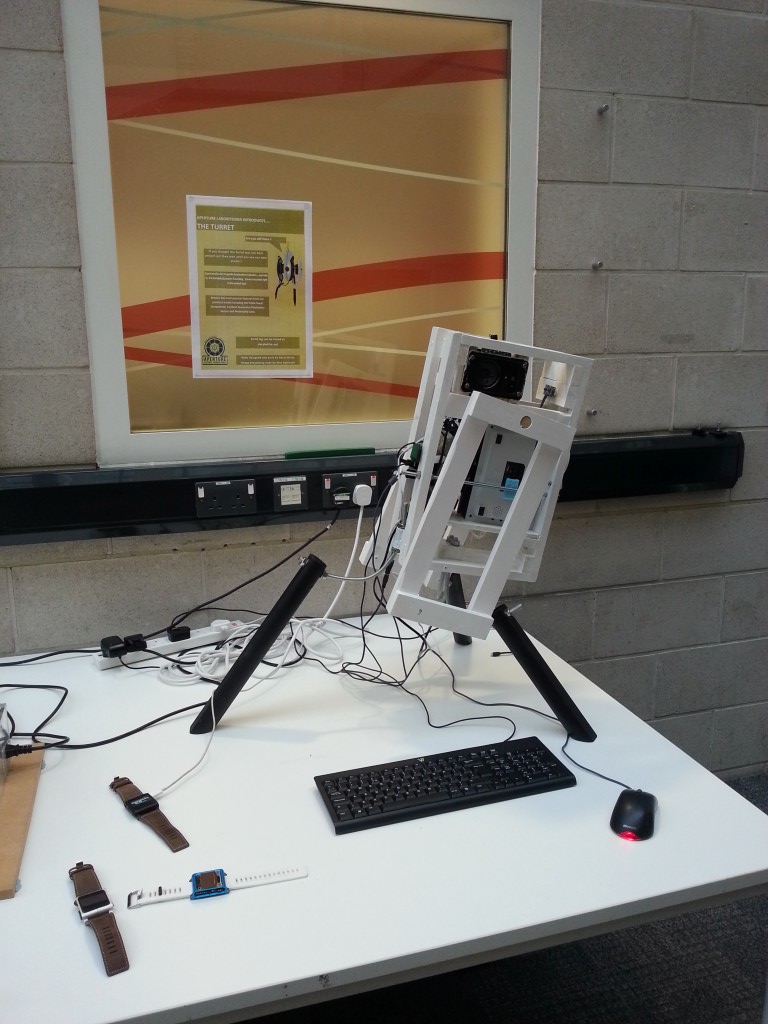
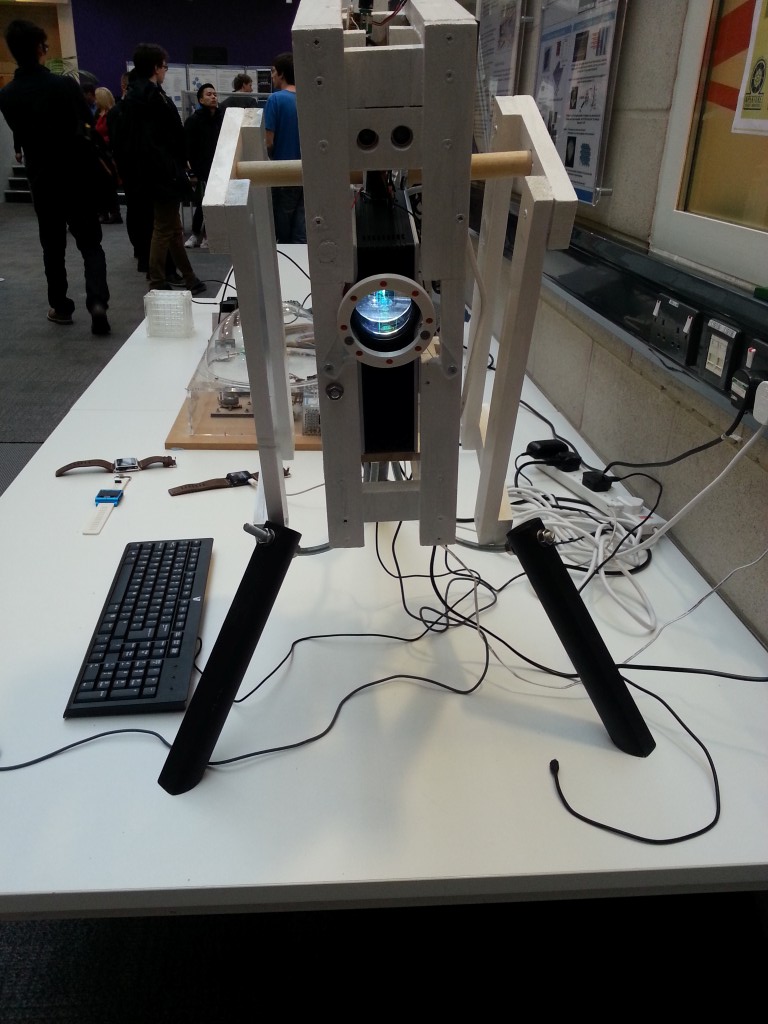
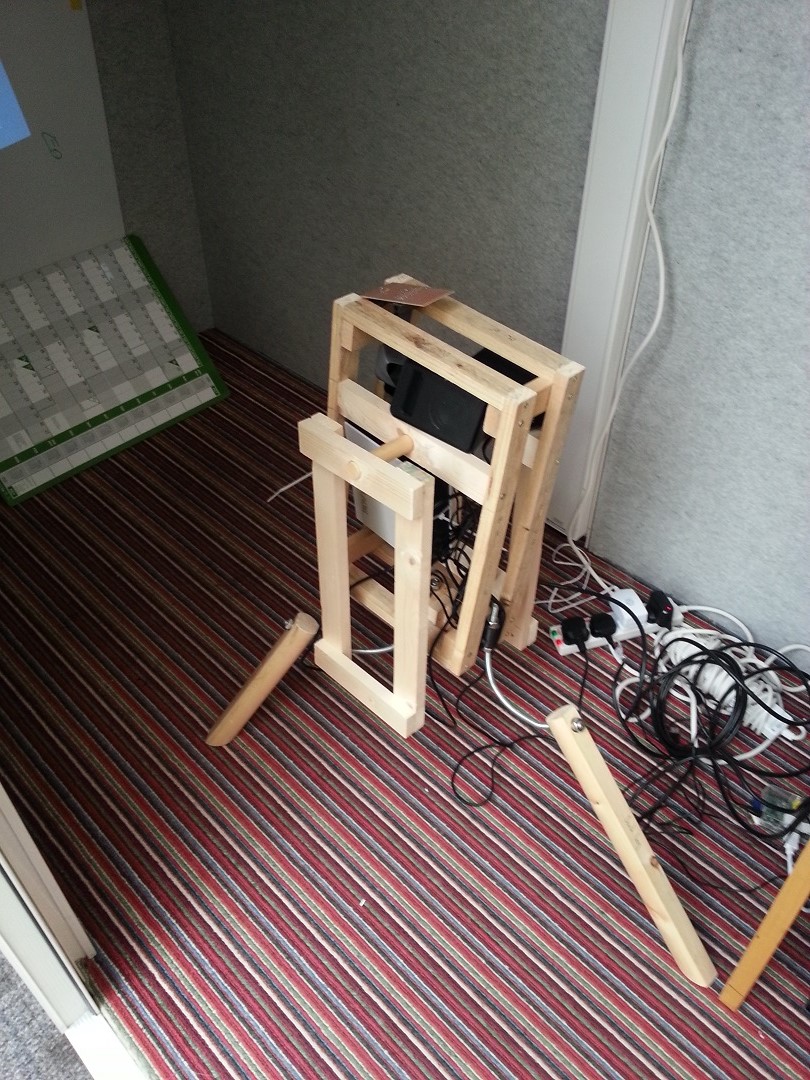
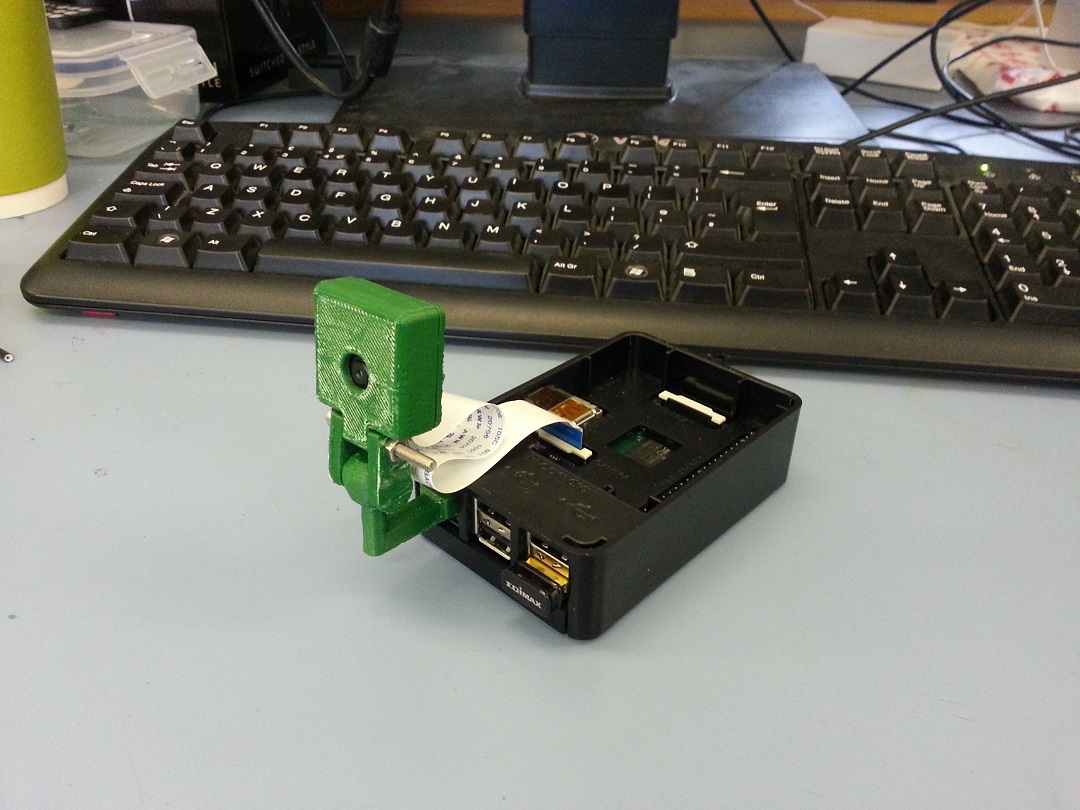
And in the image below it can be seen mounted in the turret frame with some protective packaging on the flat flex cable.

IMG_20160404_111437 (Medium)

At some point I shall strip the projector down and clean it out with compressed air and polish all the lenses etc as a lot of debris has entered during the modifications

Side panel motorization

I’ve begun to work on motorizing the turret side panels, allowing them to be open and closed just like the turret in game.

IMG_20160325_172949 (Medium)

Below is the servo and a rough linkage I made out of plastic.

IMG_20160323_142324 (Medium)I’m not sure how well this style of linkage will work but that’s what experimentation is for.

Projector Reflector

Here is a brief update on the portal turret. I’ve talked about it at each open day but I’ve finally designed and 3d printed a reflector that matches the new LED array to the Fresnel lens and LCD.

IMG_20160324_113840 (Medium)

IMG_20160324_113852 (Medium)

Side by side you can see the extra length required match up with the new LED.

Coating the inside of the new reflector I’ve done some quick tests in a bright room and the output seems considerably brighter but the real test will be when it’s all bolted back in the turret frame.

Next task shall be relocating the HDMI connector and fixing the LED array and heatsink permanently to the projector housing.

It stands!

Well after adjusting the legs and making good use of a spirit level I’ve managed to increase the stability of the turret to beyond that of a 3 legged goat.

IMG_20150902_154028

Next task was to cut the bottom of each leg at an angle so the entire surface of the leg would make contact with the floor whever it was placed. This was very much trial and error but I did use a fancy protractor.

IMG_20150903_152845

I have some foam sticky pads to add to the legs just to increase grip that little bit more.

Here is a shot with the fixed side panels fitted.

IMG_20150903_153806

IMG_20150903_153708

3D Printed Camera Holder

Well as the title says this is a camera holder for the official ? raspberry pi camera board. You don’t get much with the camera and I wanted a simple mount that offered rotation so this was ideal. You can find it on Thingiverse.com and it plugs into the ethernet port meaning it’s compatible with almost every style of case out there.


IMG_20150820_152128

This is hot off the printer and you can see the “rafts” still attached.

IMG_20150820_161210Excess plastic cut off and assembled.

3D Printing…

Today’s post is really just a collection of images and videos showing off 3d printing for those of you who haven’t seen it in person. It’s good fun when it works.

This is the printer just starting off and it’s laying a thin base of material to help the full part stick to the platform.

IMG_20150812_151001

Here is a successful bracket that will hold the back leg in place.

IMG_20150813_123503

This video shows the printer part way through the prototype bracket.

And this one is the base of a miniture portal turret model.