Coilgun Test Bed

I made this simple wooden test bed to hold all the parts of the coilgun securely. When firing there is some recoil so it’s good to keep everything in place.

IMG_20160126_145423 (Medium)

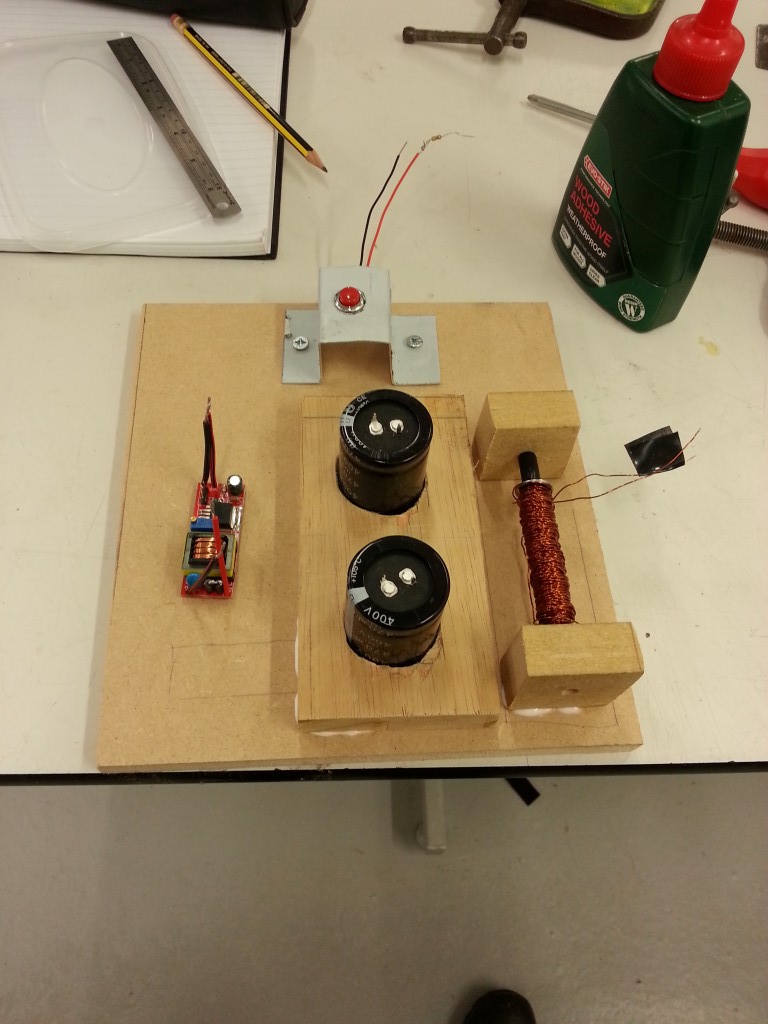
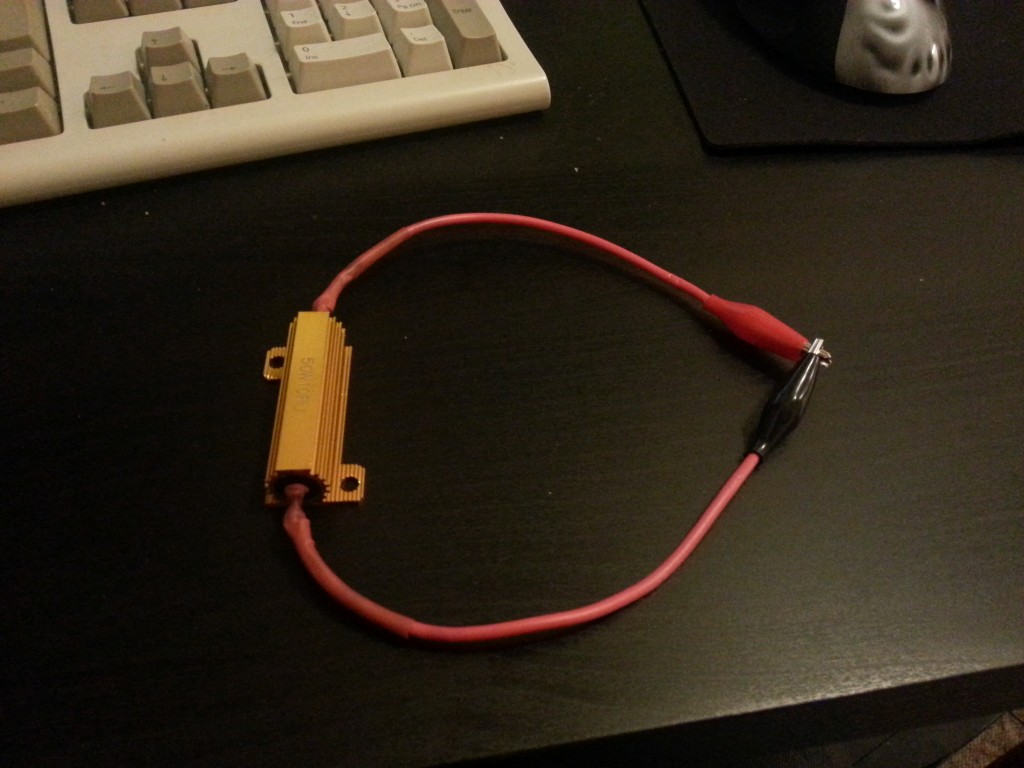
The small PCB on the bottom left is a mystery chinese DC-DC boost converter. The control chip had it’s part numbers ground off but I manged to read them under a bright light and it’s a flyback based design. Takes 5V in and gives a nice 300-400V which is perfect for capacitor charging.

Capacitor Discharge Tool

I made this tool so I could discharge the large capacitors I’m using in a controlled maner as just shorting them with a screwdriver leads to big sparks and contact errosion.

IMG_20160124_180023 (Medium)

It’s simply a 10 Ohm 50 Watt power resistor attached to a nice thick cable and some crocodile clips all with plenty of heatshrink. I settled on 10 Ohms after doing a few rough calculations given the level of voltage I’d be using it at.

Side panel motorization

I’ve begun to work on motorizing the turret side panels, allowing them to be open and closed just like the turret in game.

IMG_20160325_172949 (Medium)

Below is the servo and a rough linkage I made out of plastic.

IMG_20160323_142324 (Medium)I’m not sure how well this style of linkage will work but that’s what experimentation is for.

Projector Reflector

Here is a brief update on the portal turret. I’ve talked about it at each open day but I’ve finally designed and 3d printed a reflector that matches the new LED array to the Fresnel lens and LCD.

IMG_20160324_113840 (Medium)

IMG_20160324_113852 (Medium)

Side by side you can see the extra length required match up with the new LED.

Coating the inside of the new reflector I’ve done some quick tests in a bright room and the output seems considerably brighter but the real test will be when it’s all bolted back in the turret frame.

Next task shall be relocating the HDMI connector and fixing the LED array and heatsink permanently to the projector housing.